Image effects
The image effects feature allows imported images (bitmaps), image resources, viewports, image textures, and image-based Renderworks backgrounds, to be easily enhanced without requiring a time-consuming full rendering or the need to export to an external image program. More than one item can be selected and adjusted at the same time.
Use the Eyedropper tool for Transferring attributes, including image effects, between bitmaps or viewports.
To adjust image effects for a selected bitmap, image resource, imported image, or viewport:
Do one of the following:
When Importing image files, click Image Effects from the Image Import Options dialog box.
Select a bitmap object, select Apply Image Effects, and then click Image Effects from the Object Info palette.
When Creating resources using an image, click Image Effects from the Image Import Options dialog box.
Once an image resource exists, right-click on it from the Resource Manager and select Edit Image Effects from the Resource viewer menus.
When modifying Viewport properties, select Apply Image Effects, and then click Image Effects from the Object Info palette, or select Edit Image Effects from the context menu. The viewport must be rendered with Shaded mode or a Renderworks mode, and be updated.
When creating an image-based color shader (see Using an image in a texture shader), click Image Effects from the Edit Image Color dialog box.
When Creating image backgrounds, click Image Effects from the Edit Image Background dialog box.
The Image Effects dialog box opens.
Click to show/hide the parameters.Click to show/hide the parameters.
|
Parameter |
Description |
|
Preview |
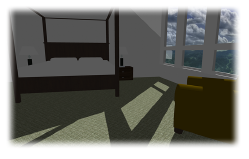
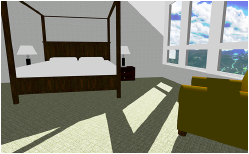
Displays the image or viewport and previews the changes |
|
Saved Settings Options |
See Using saved sets to save and apply saved settings Several default presets are available. The default presets cannot be deleted. |
|
Exposure |
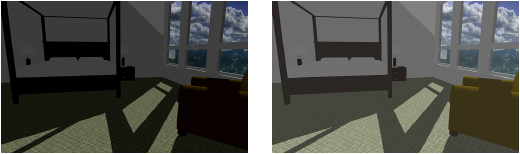
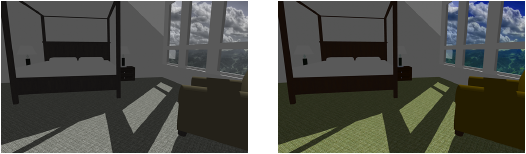
Adjusts the amount of light in the image; left is darker, and right is brighter
|
|
Contrast |
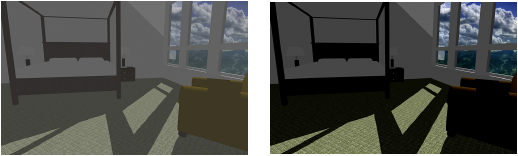
Adjusts the relative difference between lighter and darker areas. Increasing the contrast (to the right) makes the difference between lighter and darker areas more pronounced, while decreasing it (to the left) can add a washed-out effect, with darker light areas and lighter shadows.
|
|
Highlights |
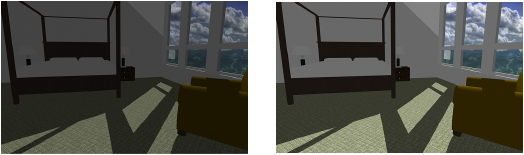
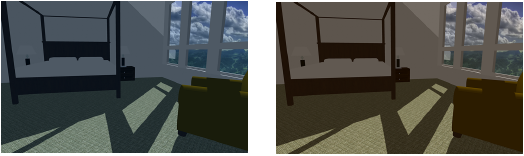
Adjusts the brightness of only the light areas. Left is darker light areas, and right is brighter.
|
|
Shadows |
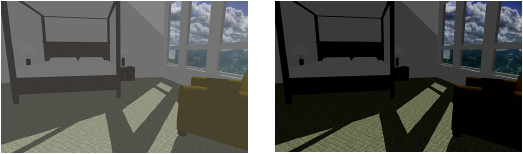
Adjusts the brightness of only the dark areas. Left is lighter dark areas, and right is darker dark areas.
|
|
Saturation |
Adjusts the color intensity of the image. Left is muted colors, and right is bright colors.
|
|
Temperature |
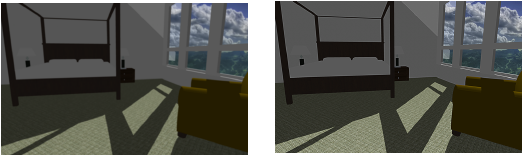
Adjusts the red/blue balance of the image. Left is cooler and bluer, and right is warmer and redder.
|
|
Blur and Sharpness |
Adjusts the edges within the image. Left is blurrier, and right is sharper.
|
|
Sepia |
Adds sepia tones to the image; move the slider to the right to add more sepia
|
|
Soft Edges |
Adds soft edges around the outside of the image, similar to an old photograph. Move the slider to the right to increase the effect.
|
|
Auto-Level |
Determines the optimal settings for the image and automatically adjusts the settings
|
|
Invert Colors |
Automatically inverts the colors in the image, as in a negative; white becomes black, red becomes cyan, blue becomes yellow, etc.
|
|
Reset |
Resets all sliders to their default positions, and sets the colors back to normal if they were inverted, undoing any changes |
|
Preview |
Click to preview the changes for an image or viewport in the drawing (does not apply when importing an image) |

The preview area displays the changes to the image or viewport as the sliders are adjusted. Click Preview to see the changes in the drawing, for an existing image or viewport.
Click Apply.
When the image effects are accessed from the Object Info palette, the effects can be toggled on and off by clicking Apply Image Effects.